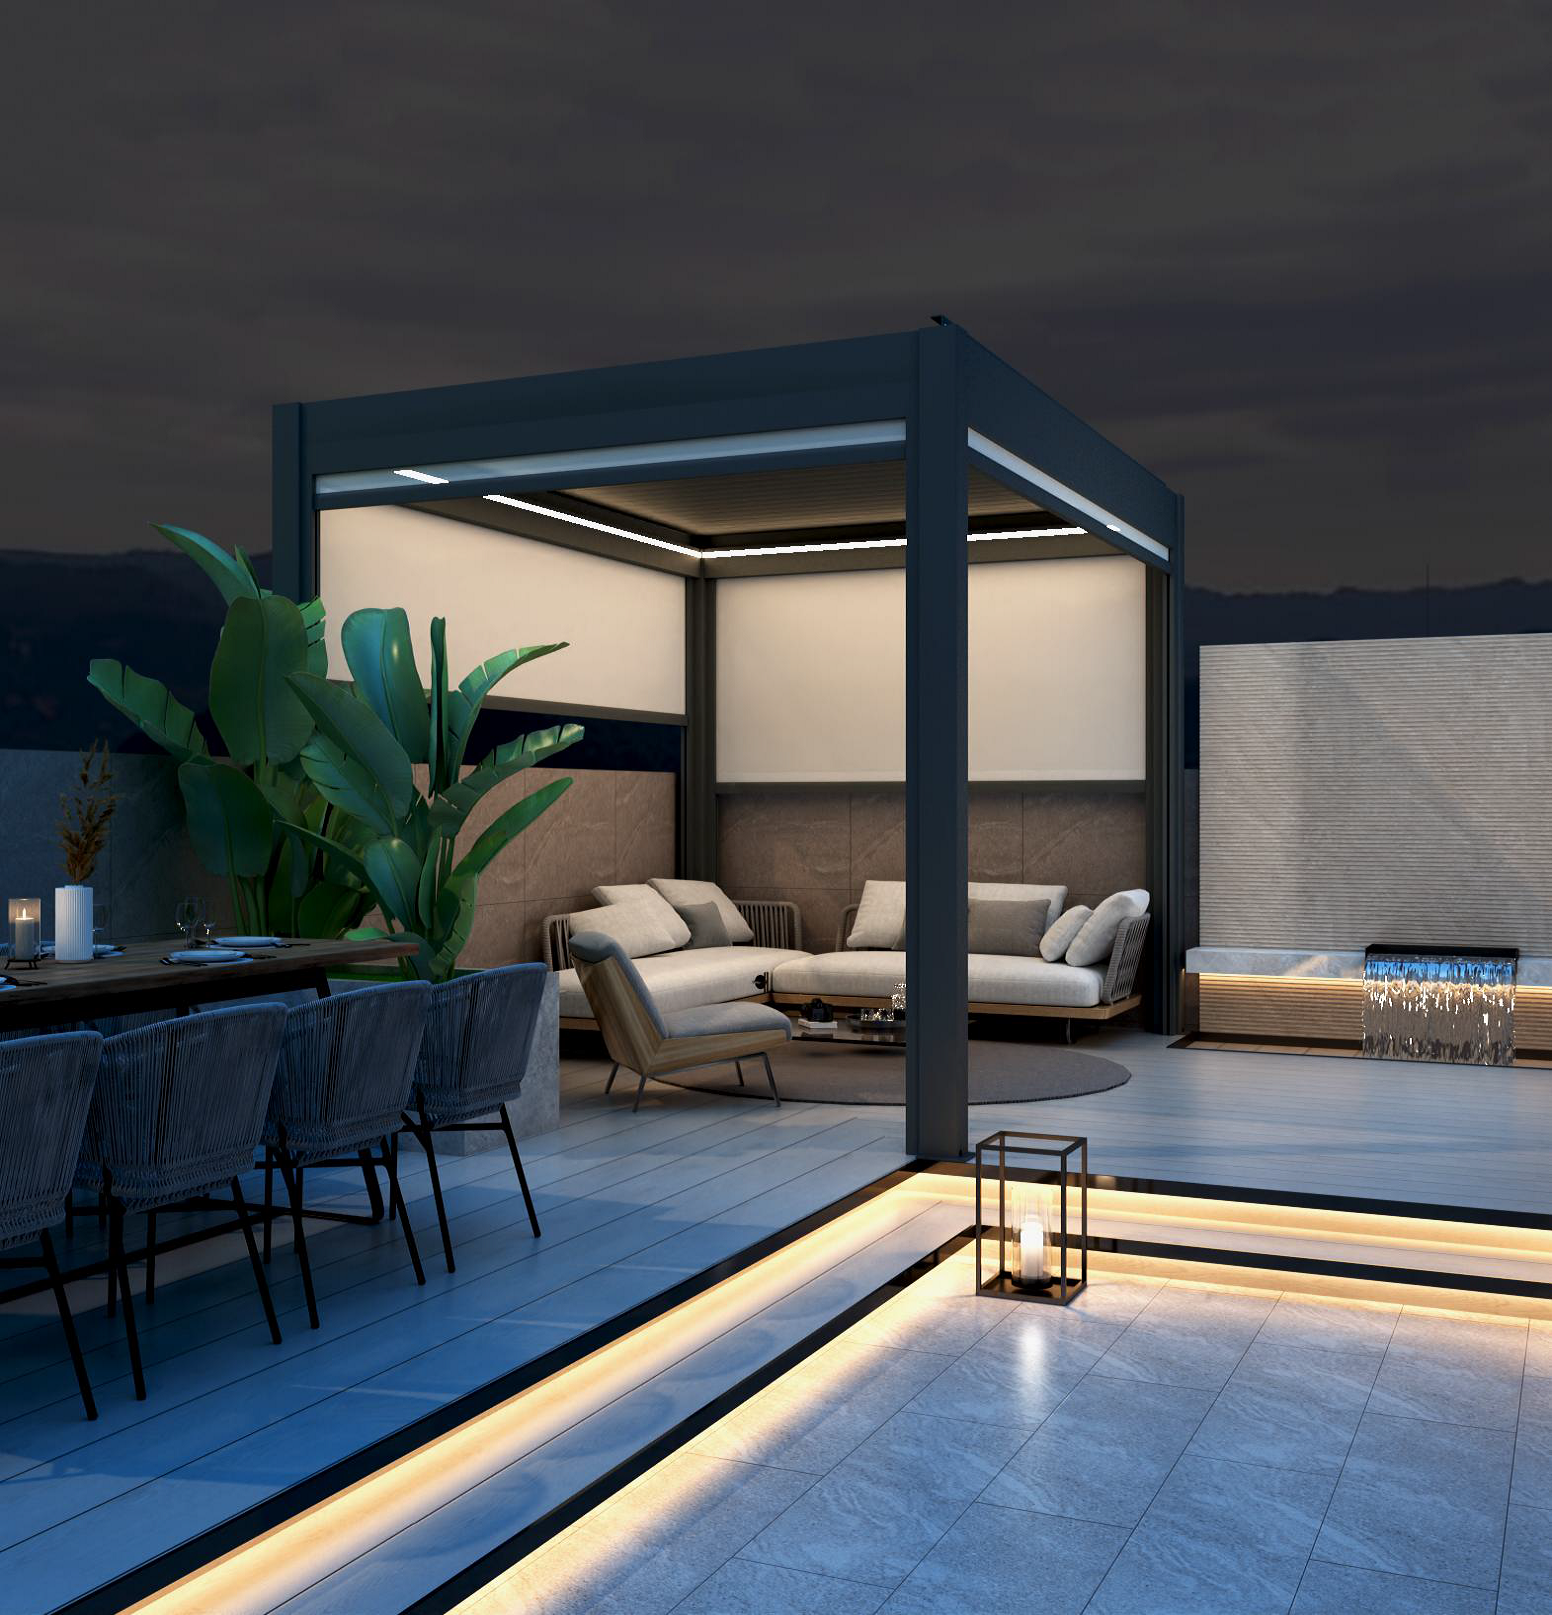
How can I build a pergola?
Want to add shade and style to your backyard without professional help? Building a basic 10'x10' pergola takes 1-2 weekends, $800-$2,500 in materials, and standard DIY tools. Follow my step-by-step guide based on the 30+ pergolas I've designed - including all the mistakes to avoid!
A standard wood pergola requires 8 posts (4x4 or 6x6), 12 beams (2x6 or 2x8), and minimal hardware. Set posts in concrete 24-36" deep, level and square the frame, then secure rafters 12-24" apart. Cedar or pressure-treated pine work best for beginners, lasting 10-15 years with proper sealing.

I'll walk you through each construction phase from planning to finishing touches:
What materials and tools will you need?
Gather these supplies before starting (adjust quantities for your size):
Essential Materials List
| Material | Quantity (10'x10') | Notes |
|---|---|---|
| 6x6 posts | 4 @ 10' | Use PT or cedar |
| 2x10 beams | 4 @ 12' | Double up sides |
| 2x6 rafters | 8 @ 12' | Space 16" apart |
| 2x4 lattice | 16 @ 8' | Optional shade |
| Concrete mix | 8-10 bags | Fast-setting |
| Lag screws | 40+ | 1/2"x5" |
| Post bases | 4 | Galvanized |
Required Tools
- Digging: Post hole digger, shovel
- Measuring: Laser level, framing square
- Cutting: Circular saw, drill
- Safety: Gloves, glasses, ear protection
- Help: 2nd person recommended
Optional upgrades:
- Decorative brackets: $20-$50 each
- Solar LED lights: $30-$100
- Climbing plants: $15-$40 per vine
- Retractable canopy: $200-$600
- Ceiling fan kit: $150-$400
How do you set the posts correctly?
Proper post installation prevents 90% of structural issues:
Post Installation Steps
- Mark layout - Use batter boards & string for perfect square
- Dig holes - 24" deep minimum (36" for windy areas)
- Add gravel - 6" base for drainage
- Set posts - Temporarily brace with 2x4s
- Pour concrete - Slope top away from post
- Check alignment - Measure diagonals equal
Critical measurements:
- Post height: 8'-10' above ground
- Spacing: 9'6" between post centers
- Plumb: <1/4" deviation over 8'
- Concrete set: 24-48 hours before framing
Common mistakes to avoid:
- Insufficient depth (frost heave risk)
- Over-tamped concrete (weakens mix)
- Early bracing removal (causes lean)
- Ground contact wood (rot starts in 2-3 years)
How do you assemble the frame?
The beam-to-post connection is your most critical joint:
Framing Sequence
- Install perimeter beams - Double 2x10s bolted to posts
- Add cross beams - Notch or use metal hangers
- Secure rafters - Birdsmouth cuts or ledger strips
- Optional: Purloins - 2x4s between rafters
- Decorative ends - Cut curves or angles
Recommended connections:
- Post-to-beam: Through-bolts (2 per connection)
- Beam-to-rafter: Hurricane ties
- Rafters-to-rafters: Deck screws @ 45°
- Lattice: Stainless finish nails
Structural tips:
- Overhang: 12-18" beyond posts
- Pitch: 1-2° slope for drainage
- Blocking: Mid-span for long rafters
- Hardware: Hot-dip galvanized or stainless
What finishing options work best?
Protect your pergola and enhance its appearance:
Finish Comparison
| Product | Durability | Recoat | Dry Time |
|---|---|---|---|
| Oil Stain | 2-3 years | Annual | 24 hrs |
| Solid Stain | 4-5 years | 3 years | 48 hrs |
| Paint | 5-7 years | Full strip | 72 hrs |
| Natural | 1 year | Semi-annual | N/A |
| Epoxy | 10+ years | Never | 7 days |
Application tips:
- Sand first: 80-120 grit
- Pre-stain: For even absorption
- Brushes: 3" angled for beams
- Sprayers: HVLP for lattice
- Coats: Minimum two thin layers
Building a pergola requires careful planning (check local codes!), quality materials, and methodical assembly. Take your time on post placement and beam connections - these determine long-term stability. While 10'x10' is standard, consider your space usage: 12'x12' better fits dining sets (allow 18" clearance all sides). Incorporate electrical during framing if adding lighting/fans. With proper maintenance, your DIY pergola will provide 15+ years of outdoor enjoyment.


